
This week in thoughts: how to style a shelf like a pro (without losing your marbles.)

When it comes to home decor, there are a few things that will always have my heart:
Hanging a gallery wall
Painting (yes, really)
Styling a shelf
Today, we’re talking all things shelf styling; which seems to be a universal struggle amongst those who yearn for a pretty, put together home.
When I first got into interiors, it was through little acts of creativity, like styling vignettes, or chests of drawers, or indeed, shelves. I found it so enjoyable (still do!) and even though now I’d probably baulk at my efforts back then, one thing remains; I’ve always loved how rewarding it feels to have a good old faff (and ultimately, create something beautiful-to you.)
I think the issue many have when it comes to styling shelves is that the whole process is either too overwhelming (because there’s a lack of structure in the approach) or, conversely, there’s too much overthinking going on. I have been guilty of both. I have a very ‘gung ho’ attitude, and often rush into things. There’s a balance to be struck with styling; you don’t want to chuck stuff at a shelf, neither do you want to plan *so hard* that things end up looking stiff.
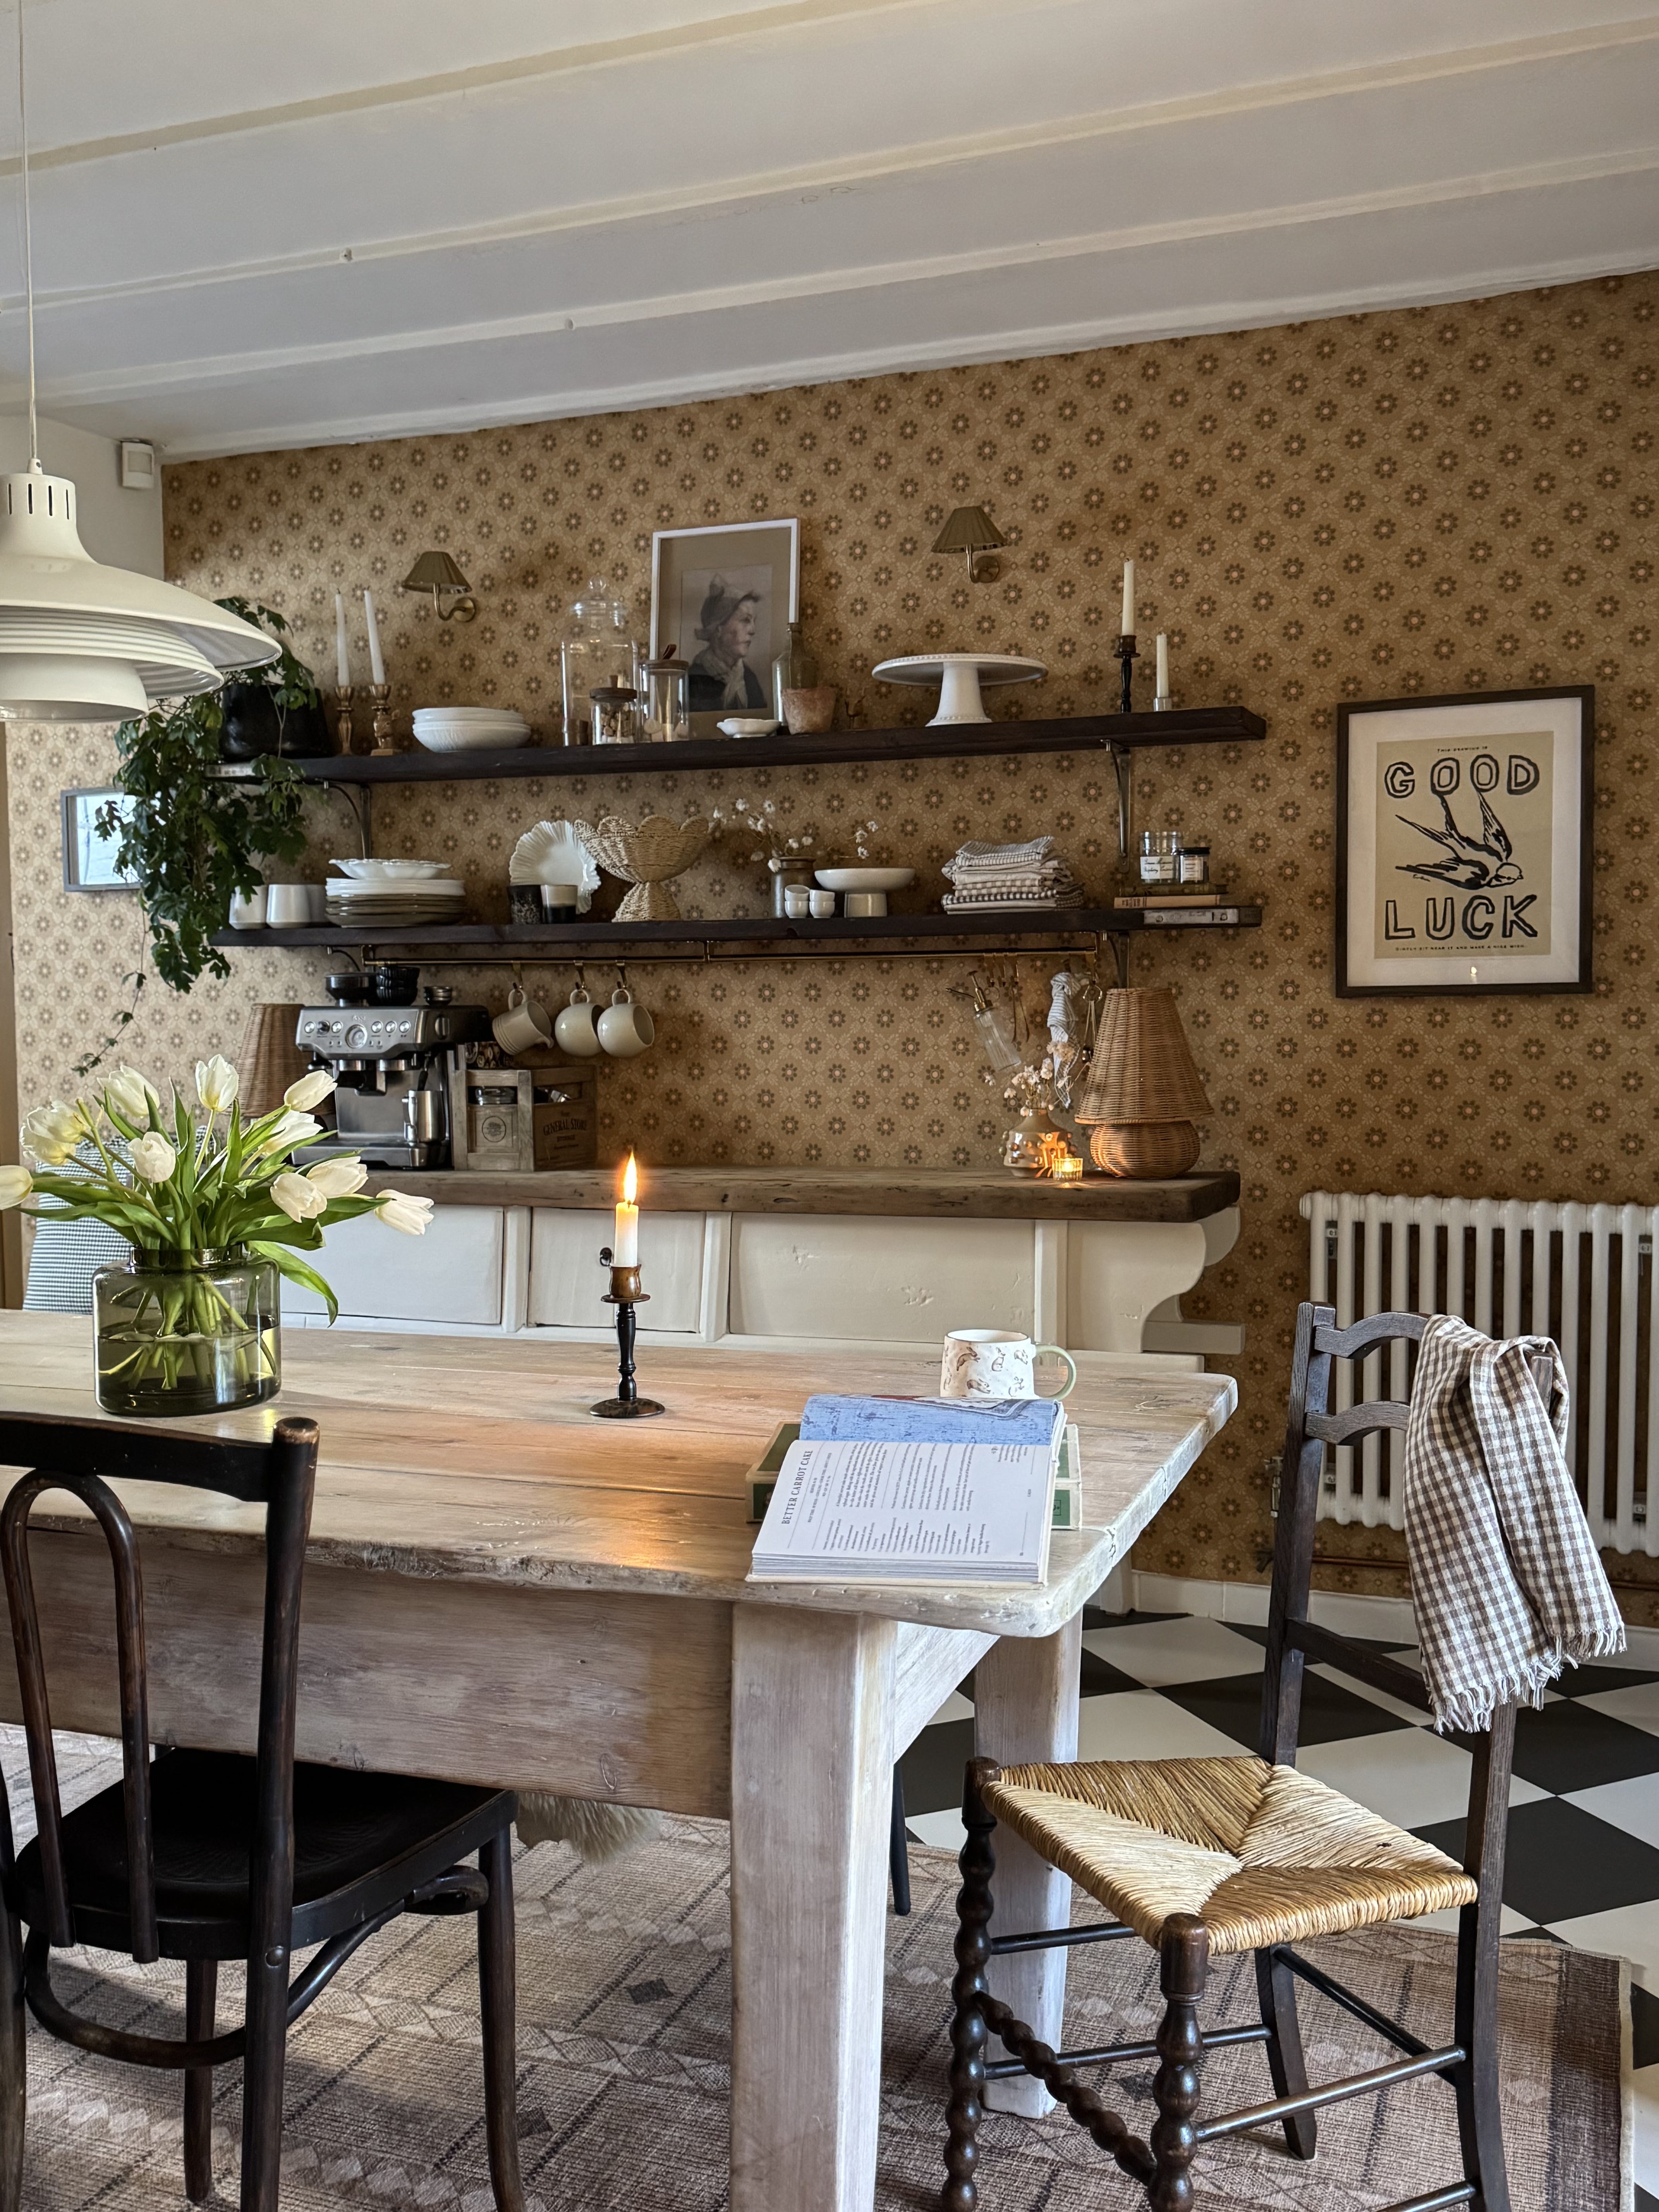
My dining room shelves are my current faves. I think it’s the combination of stuff on them and the fact that they feel ‘true’ to my style-a little rustic, a little vintage, heavily layered-eclectic but tonal. I love the mix of wood tones, the and the way they are anchored by the consol below.
What do I do first?
The first thing to consider, before you even think about doing anything pretty is to make sure your shelves are in the right position. If using multiple shelves, and planning to put lots of tall stuff on them; make sure you have a big enough gap between the planks (an easy way to measure the distance is to grab your longest object and use that as guide.)
How many shelves do you want? I like two or three personally (I also love one, very long continuous shelf) but really, there’s no right or wrong, and of course, it very much depends on their function; i.e., are you using them purely for display purposes, or planning on stacking paperwork and a printer?
In terms of material, I don’t think you can go wrong with wood. It’s low maintenance, and timeless. If you’re using MDF or similar, consider that the centre of the plank may need an extra bracket for support, especially if adding books (they’re SO heavy!?) and if you’re painting them, let them fully cure before you put anything on them (I’m speaking from experience here.)
Now what?
Once you’re happy with your shelving, it’s time to sort your stuff into piles. This makes life easier, and helps you to consciously choose pieces from each ‘group’- it means that you ‘mix’ your decor and create friction.
Put all of your large objects together (you’re going to want to make sure you evenly disperse these so that your shelving feels balanced.)
Seperate your materials; e,g, wood, metal, glass into piles.
Seperate your items; e.g., books, vases, photo frames into piles.
Prepare yourself for lots of changes!
And then?
Now it’s time to get cracking.

To start, grab the largest items from your pile, and place them evenly across all of your shelves, making sure there are decent ‘gaps’ between these bigger pieces. This will ensure that your shelves feel equally distributed. The image below demonstrates this well. Remember, you don’t have to sue absolutely everything you own. If things feel too weighty, consider repurposing a few pieces in a different location.

If you’re using books (which you should be!) now is the time to introduce them. Again, make sure to evenly disperse your chosen books across the shelves, placing some vertically (spine out) and some horizontally. Books make great bases for other decorative items, and also help to add height. If you’re stacking books vertically, a good tip to use a vase/ bowl as a ‘bookend’ to stop the books from toppling over. Think of your books beyond their intended purpose and let them become part of the visual narrative in their own right. Bonus point for sourcing books with spines that compliment your colour scheme too!
Once you’re happy with the placement of your books, it’s time to start adding other items from your piles, making sure to mix and match your pieces. I like to work in sections when styling and focus on one vignette (one specific space) at a time.
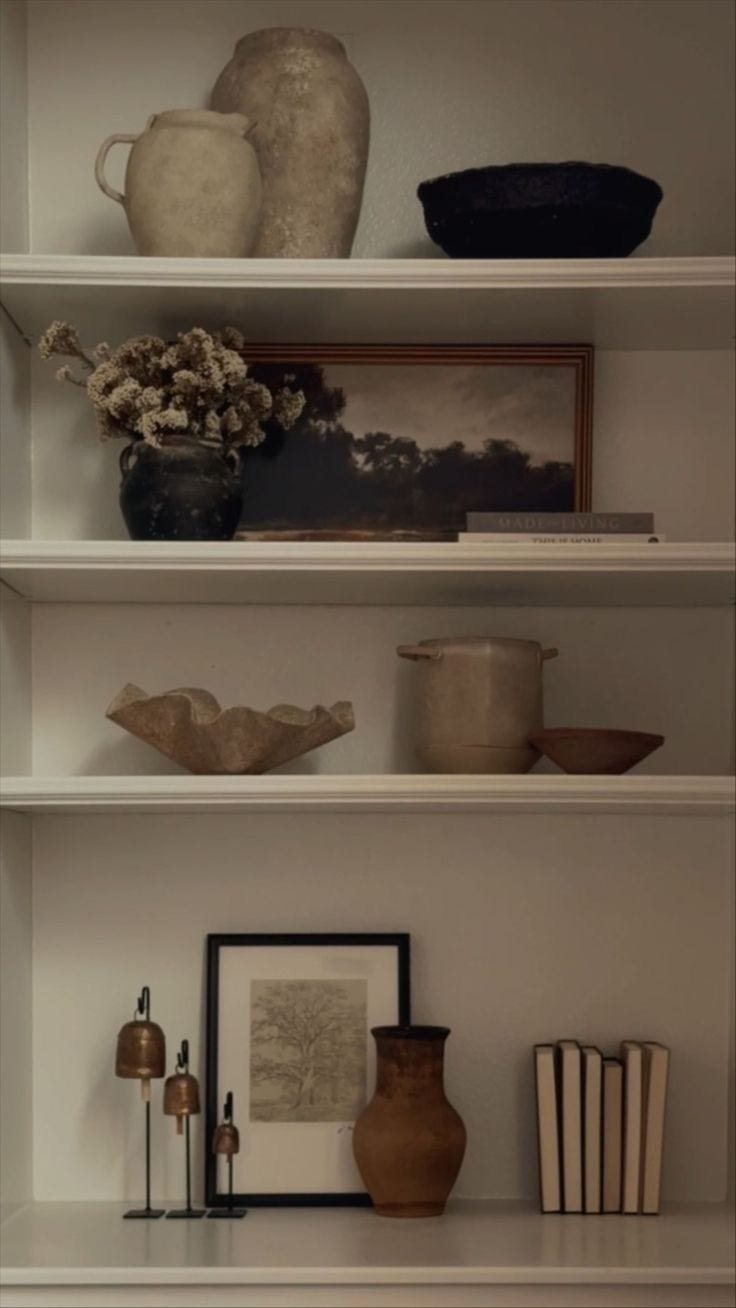
Layering & depth
Rather than lining everything up in a straight, rigid line, what you want to aim for is ‘clusters’ of items whereby some things are positioned further back, and other items are bought forward. This creates depth and the illusion of space. A good example of how to do this is to take a piece of art, prop it on the shelf (so it leans against the wall behind) and then take 3 decorative objects and arrange them in front of the picture.
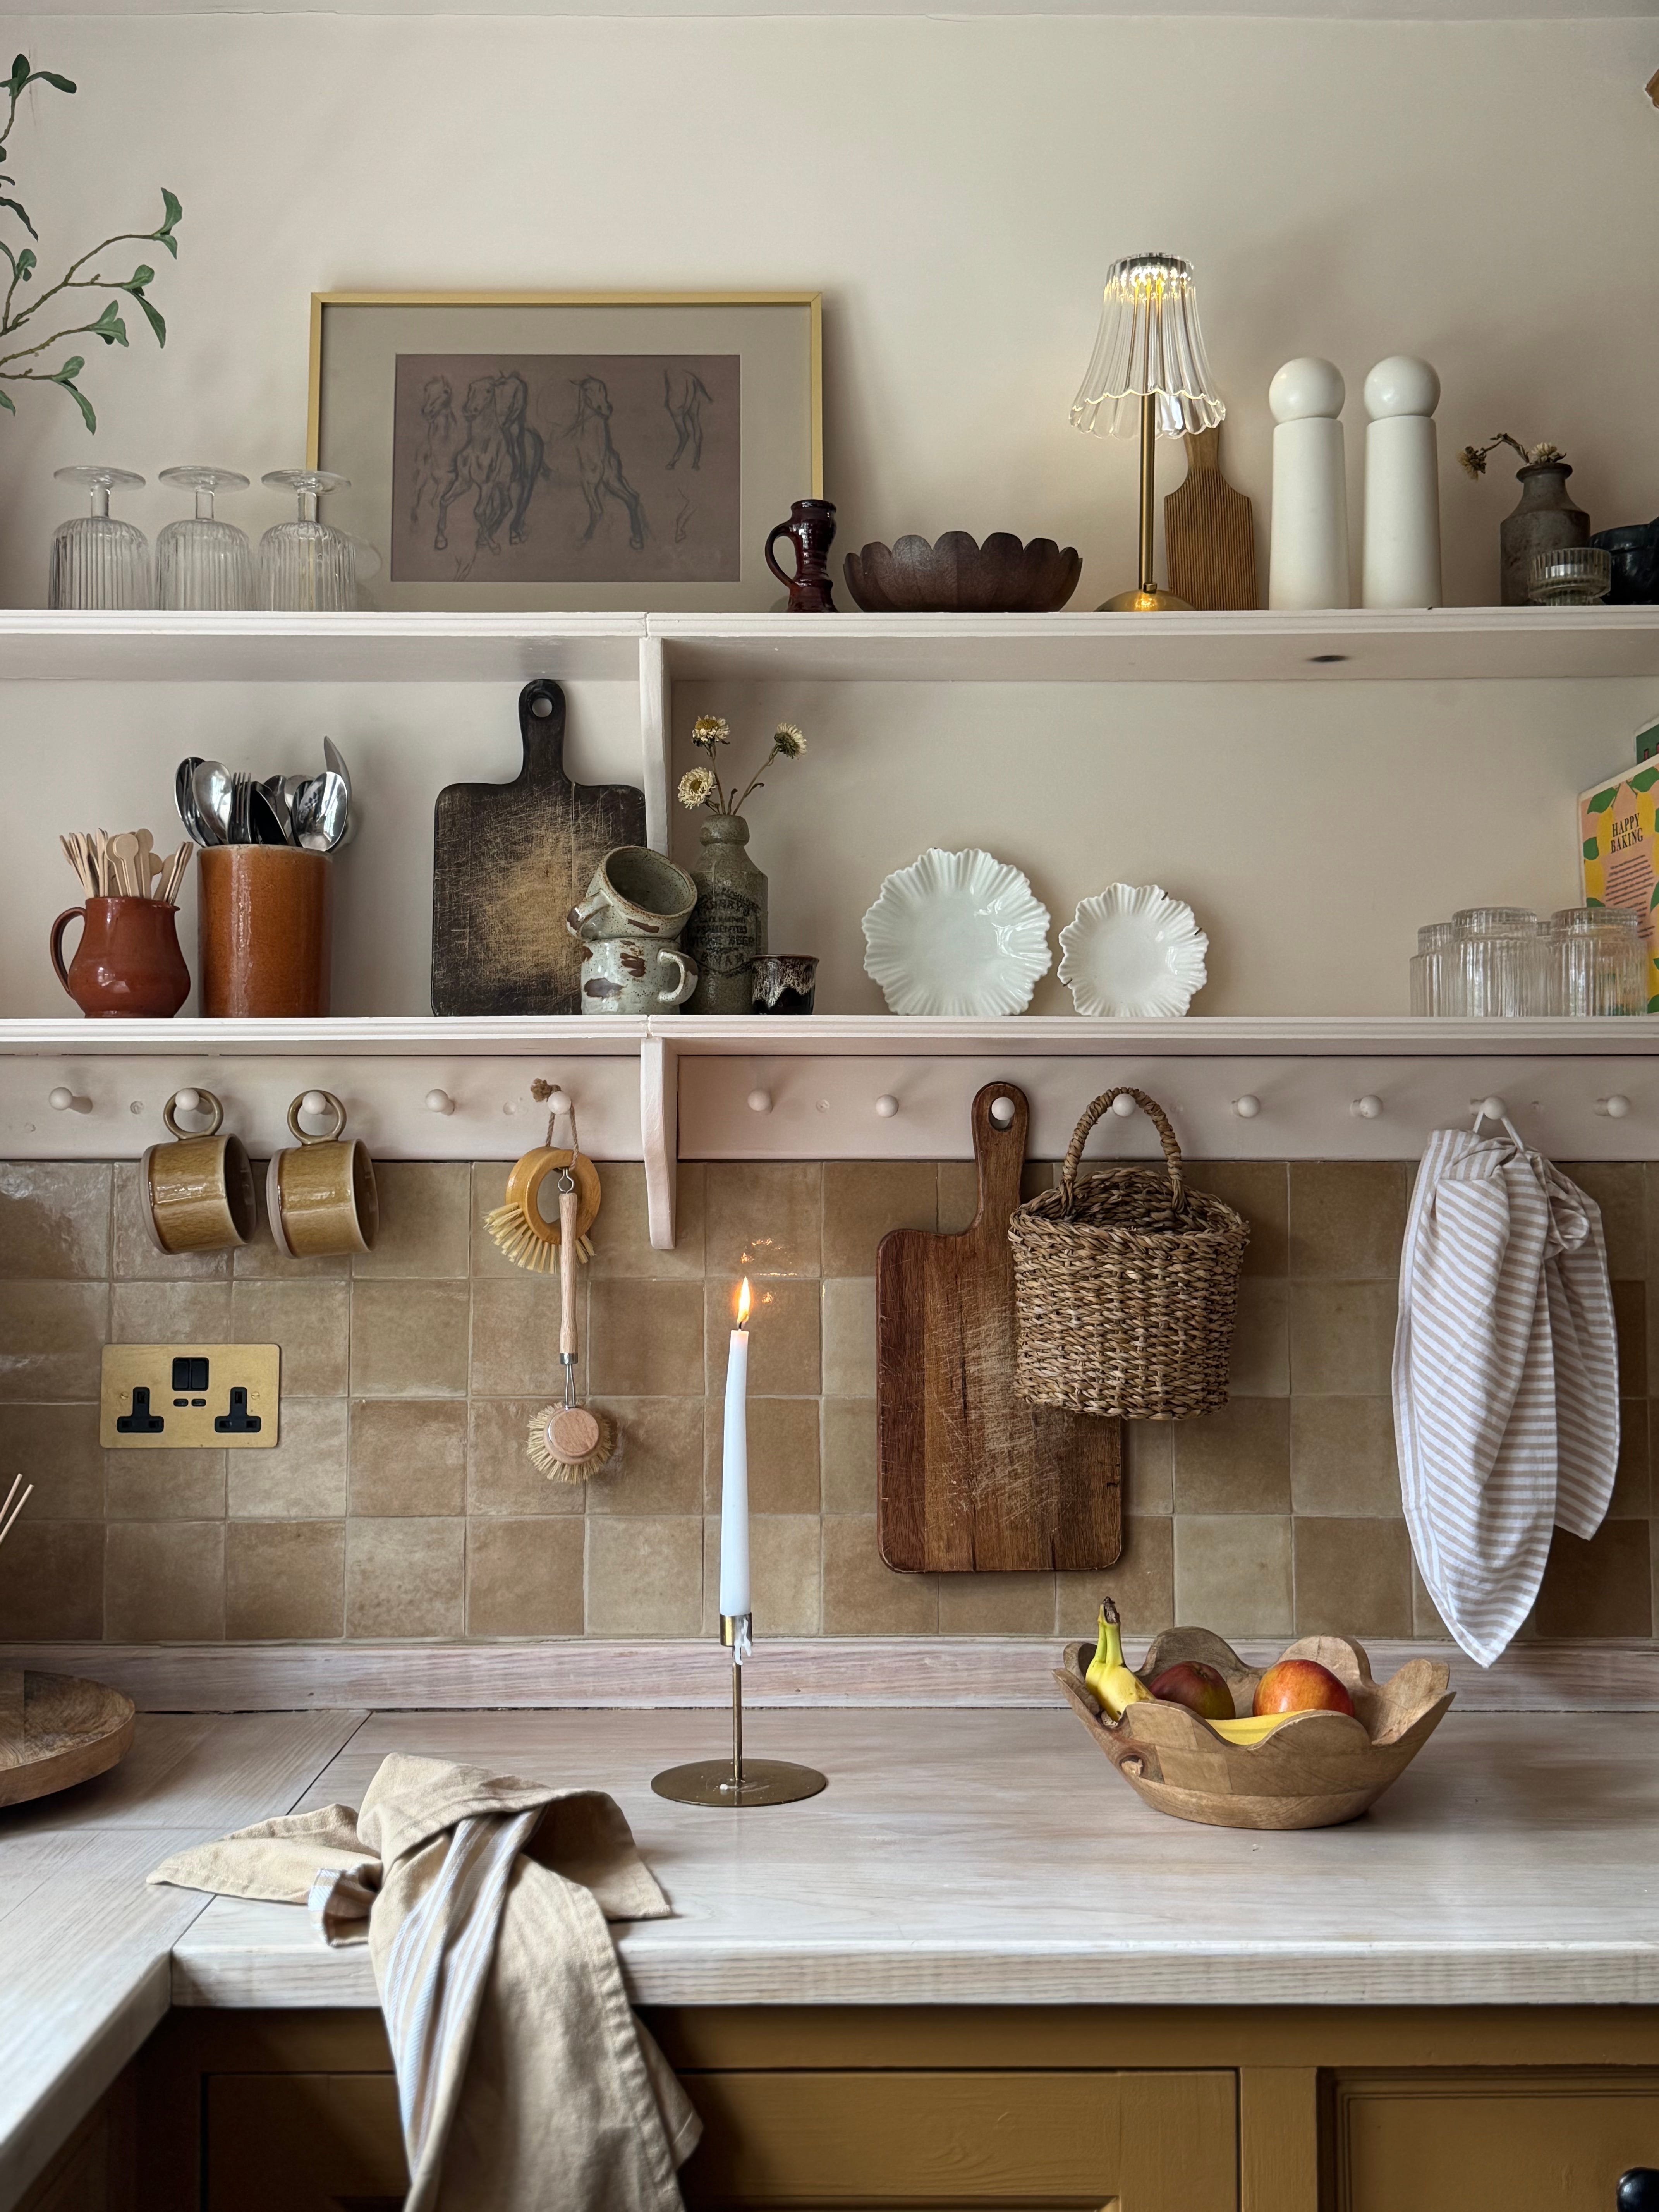
Texture & Friction
For visual interest, you want to place opposing materials next to each other as much as possible. A concrete vase, filled with soft greenery, plonked on top a book (paper) with a metal candle stick in front will better excite the eye, rather than everything feeling too ‘smooth’ or too ‘rough’. Texture is like seasoning, especially if you love a more muted, or neutral colour palette. The friction created by opposing materials helps to prevent the space feeling ‘flat’ and adds warmth, comfort and creates a sensory experience. You can also use this tip as a guide for shopping for your home.
The rule of 3’s (or odd numbers in general)
The Rule of Three is a design principle, and broader creative guideline (but not a strict rule!) that suggests things arranged in odd numbers, particularly in groups of three, are more visually appealing and effective than even-numbered groupings. In interior design, it's a go-to method for creating balanced, dynamic, and interesting compositions. And It works!
Visual Balance: Odd numbers force the eye to move around, creating a more engaging visual flow.
Natural Feel: odd numbers feel organic/ casual and less ‘rigid’ than symmetrical, even-numbered groupings.
Hierarchy & Focus: odd numbers naturally establish a focal point and sense of order without looking too formal.
e.g., group three or another odd number of decorative objects (e.g., a candle, a vase, and a book) and as vary the height, size, or texture of the items to make the grouping more interesting.
Don’t rush it!
A good tip is to regularly pause throughout the process and take your time, keep standing back, and observing. Does it feel balanced? Do you like how it looks? Are aspects of the shelf too busy/ full? Are there areas that feel too minimal?
I’ll often style/ decorate an area, an then come back to it after a night’s sleep. I tend to have fresher/ more perceptive eyes when I’m rested and can spot any problem areas more easily. Often we need to come away from something to appreciate it better. I find if I stare at something too long, things become blurry, so make sure to have a breather, and then reexamine things once you’ve had time to recoup.
Next week I’ll be answering follower’s design dilemmas so make you’re subscribed, and following me over on instagram.
Until next week,
Nina x
Brilliant advice, thank you 😊